
When it comes to intimidating beauty rituals, self tanning at home is right up there. The stakes are just too high, when you really think about it: who wants to end up with a streaky, blotchy tan when all they’re looking for is that effortlessly chic summer glow? Because we feel your pain, and because we’ve had a few mishaps too, we’ve compiled our best tips into this ultimate guide to self tanning. If you’ve ever wanted to learn how to self tan at home, this is it: follow along, and get your glow on.
On this post:
- Self tanning at home: What you need to know
- What is the best self tan for beginners?
- How to apply self tanner in 6 steps
Self tanning at home: What you need to know
Before starting the adventure of self tanning at home, there are some basic things you need to know: which product to choose, how often to use it and, most importantly, how fast it will fade in case you run into any problems. Let’s get to it:
How long does self tan take to develop?
The time a self tanning product takes to develop will often depend on the specific formula you are using. Always make sure to check the instructions of your product for detailed information!
As a rule, most self tanners start developing somewhere between 4 and 8 hours, and will continue to develop for up to 48 to 72 hours.
How long does self tan last?
The good thing about self tanning products is that they are low-commitment; the bad thing about self tanning products is that they are low-commitment precisely because they fade much faster than a sun-induced tan.
You can expect your self tan to last you around 5 days without any major maintenance. The good news is you can just top it up whenever you feel like it’s faded a little too much for your liking!
How often should you self tan?
There is no “should” when it comes to self tanning: you can do it as often or as rarely as you’d like!
If you’re looking for a general guideline, once a week seems to be the sweet spot. A week gives your self tanner enough time to develop fully and then start fading. Use a gentle exfoliant (or a targeted “tan remover”) on your skin to get rid of any remnants of the previous application, and you’ll be good to go!
What is the best self tan for beginners?
If you’ve never used a self tanning product in your life and want to start now, we recommend that you choose a product based on two things: how easy it will be for you to apply it, and how intense the tan will get.
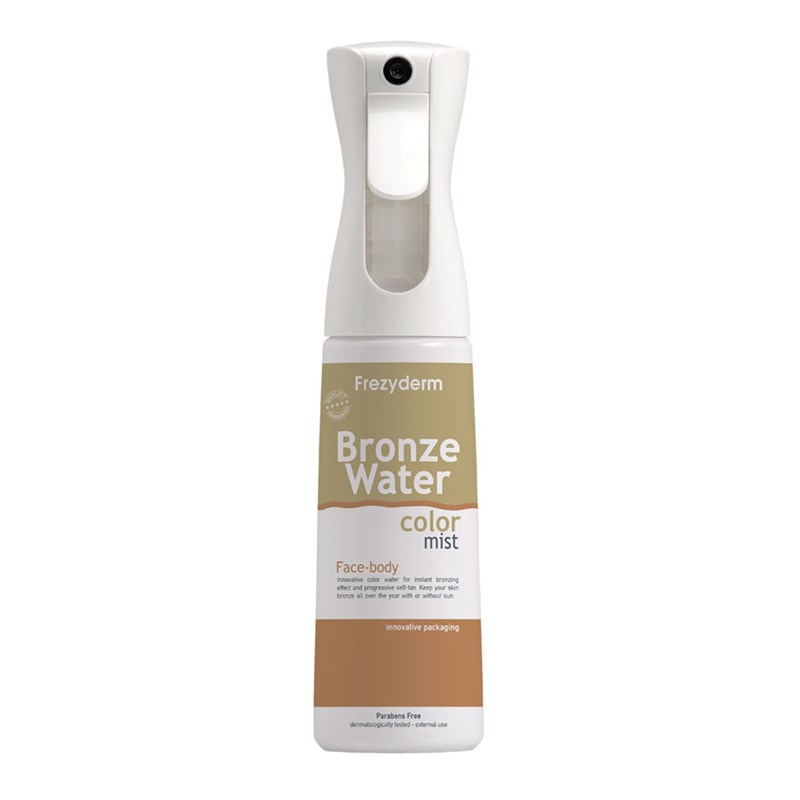
Regarding the first point: there are plenty of textures of self tanners out there, from gels and lotions to mousses, sprays, and even self tanning wipes. Of these, we believe self tanning wipes might be the easiest to use, followed closely by spray-on self tanners.
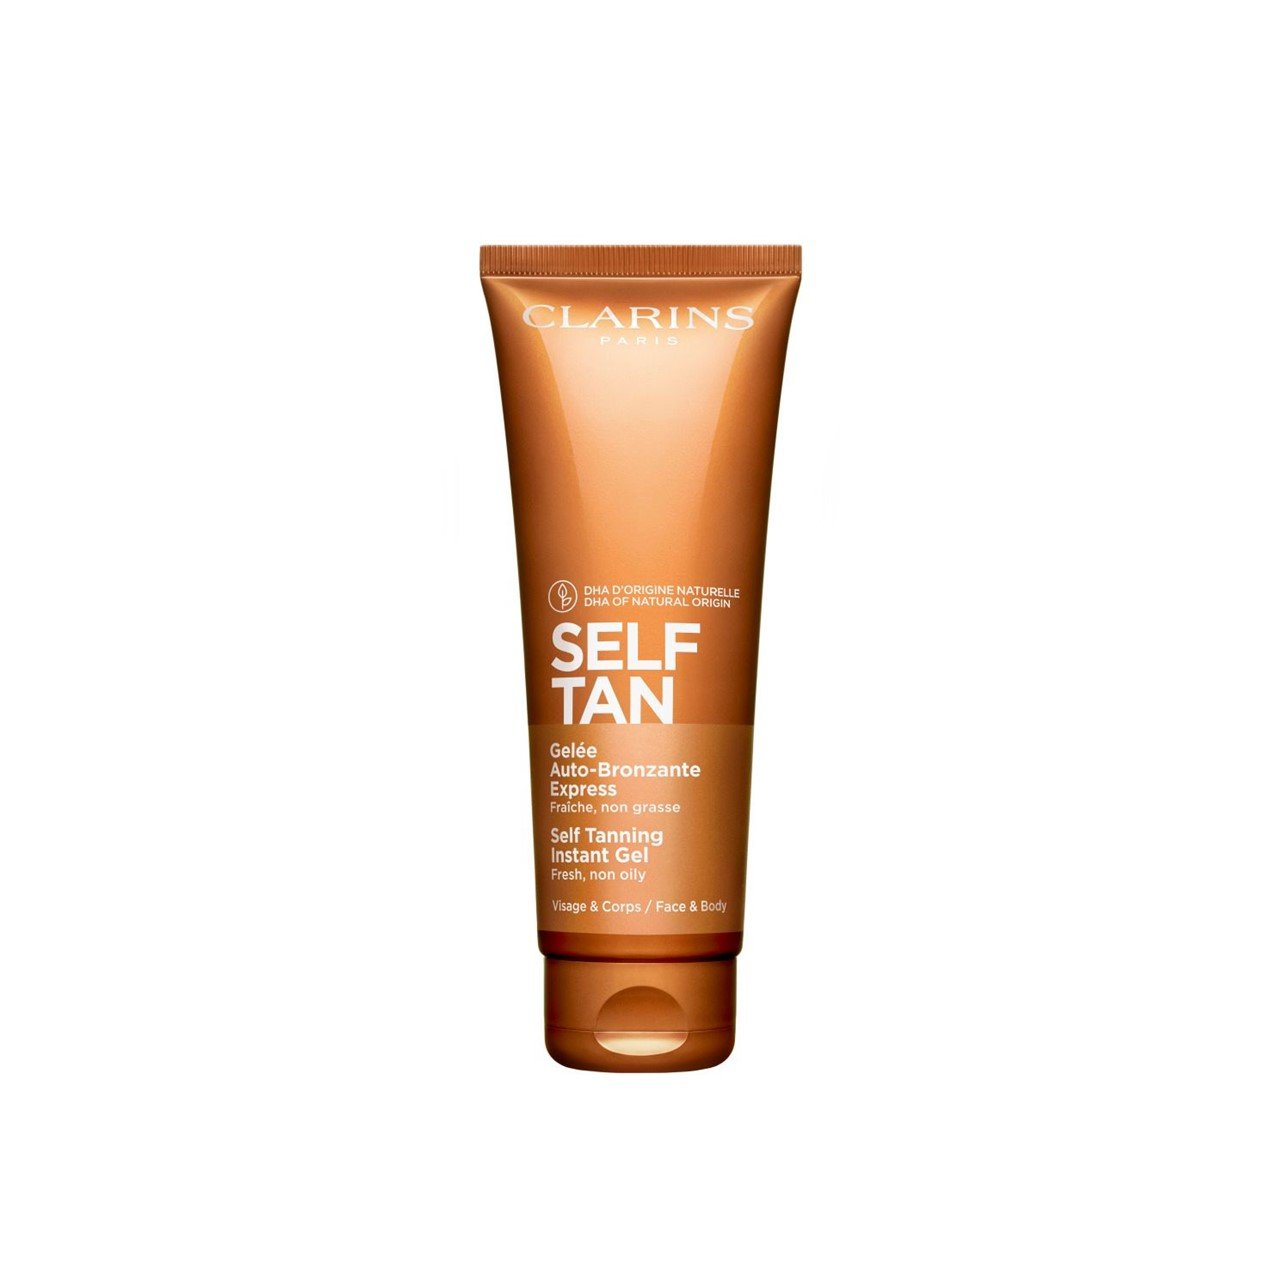
As for the intensity of the tan, this is where you can prevent mishaps by picking a product that gives you a gradual, subtle tan, rather than an intense, just-got-back-from-a-tropical-vacation tan. Look for products with words like “gradual” or “progressive” on the packaging, and you won’t have any trouble finding a product that works for you. As a personal tip, this writer loves the Topicrem Ultra-Moisturizing Progressive Tan, for its natural golden tan.
How to apply self tanner in 6 steps
Now that you know the theory, let’s get to the practice and help you achieve a beautiful-looking tan in just 6 easy steps:
1. Exfoliate and shave
A smooth, even tan begins and ends with smooth, even skin. For that reason, you should always make sure to exfoliate around 24 hours before you apply your tan. Go for a gentle body scrub that won’t leave any oily residue on the skin, like the Lierac Body-Nutri The Resurfacing Scrub; you shouldn’t reach for something that is extremely rich in essential oils, as the oil can prevent your self tan from adhering to the skin.
If you shave or wax, it’s also important to time your hair removal based on when you intend to apply your tan. A day before is usually fine, but if you wax, make sure that there’s no residue left on the skin by the time you apply your tan.
2. Prep problem areas
If you’ve ever looked into how to self tan at home, you know there’s a few danger zones when it comes to self tanner: hands, ankles, and knees are particularly infamous for growing a lot darker than the rest of the skin, as the self tanner tends to accumulate in these dry and bony areas.
In order to keep your tanner from over-darkening these dry areas, rub a thin layer of a lightweight body lotion into the skin. This will form a “barrier” that will keep your skin from absorbing too much product.
3. Start tanning
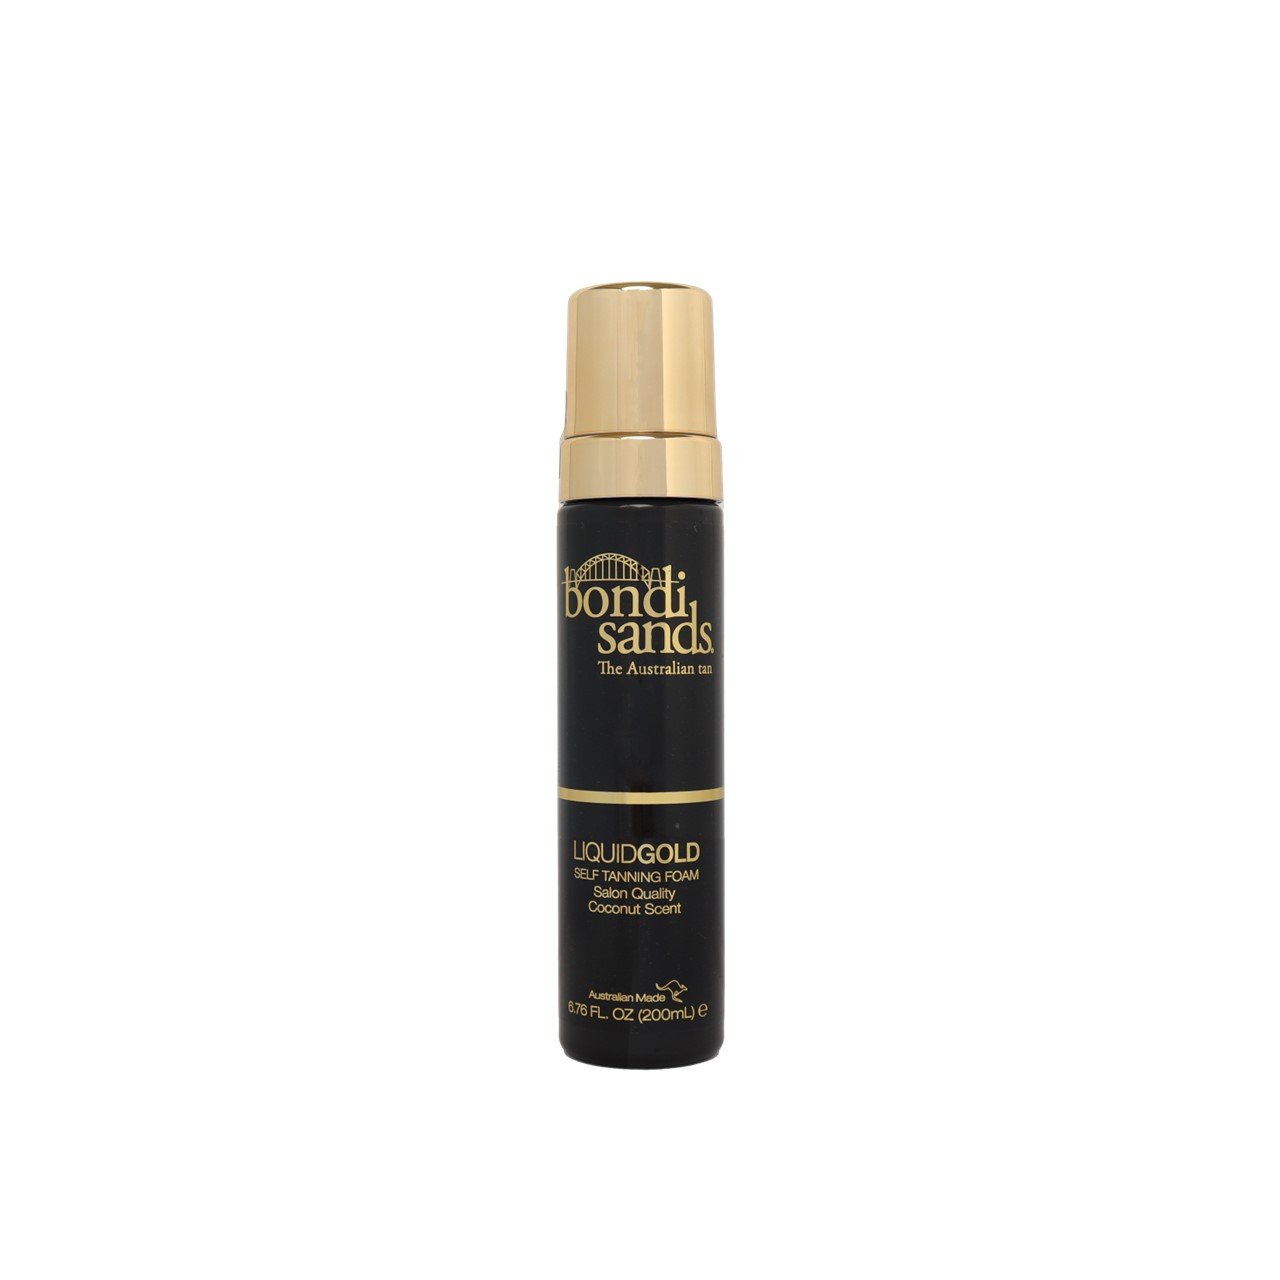
The correct way to apply self tanner will depend, naturally, on the texture of your product. Specialized tanning brands, like Bondi Sands, will offer a wide range of options you can choose from based on your application preferences.
Self tanning gels, lotions, and mousses, for example, should be applied with a mitt in order to keep your poor hands from soaking in all the color while you work. Tanning mitts provide a flat, smooth surface that deposits the product evenly onto your skin.
Starting from the bottom up, apply the product in long, confident sweeps, making sure to overlap the edges for a full, even coverage. Don’t be afraid of slathering on what seems like “too much” self tanner; your skin can only absorb so much, so you won’t grow more tanned the more product you apply. Conversely, if you apply too little, you risk ending up with streaky areas where the skin couldn’t absorb enough color. Be fearless!
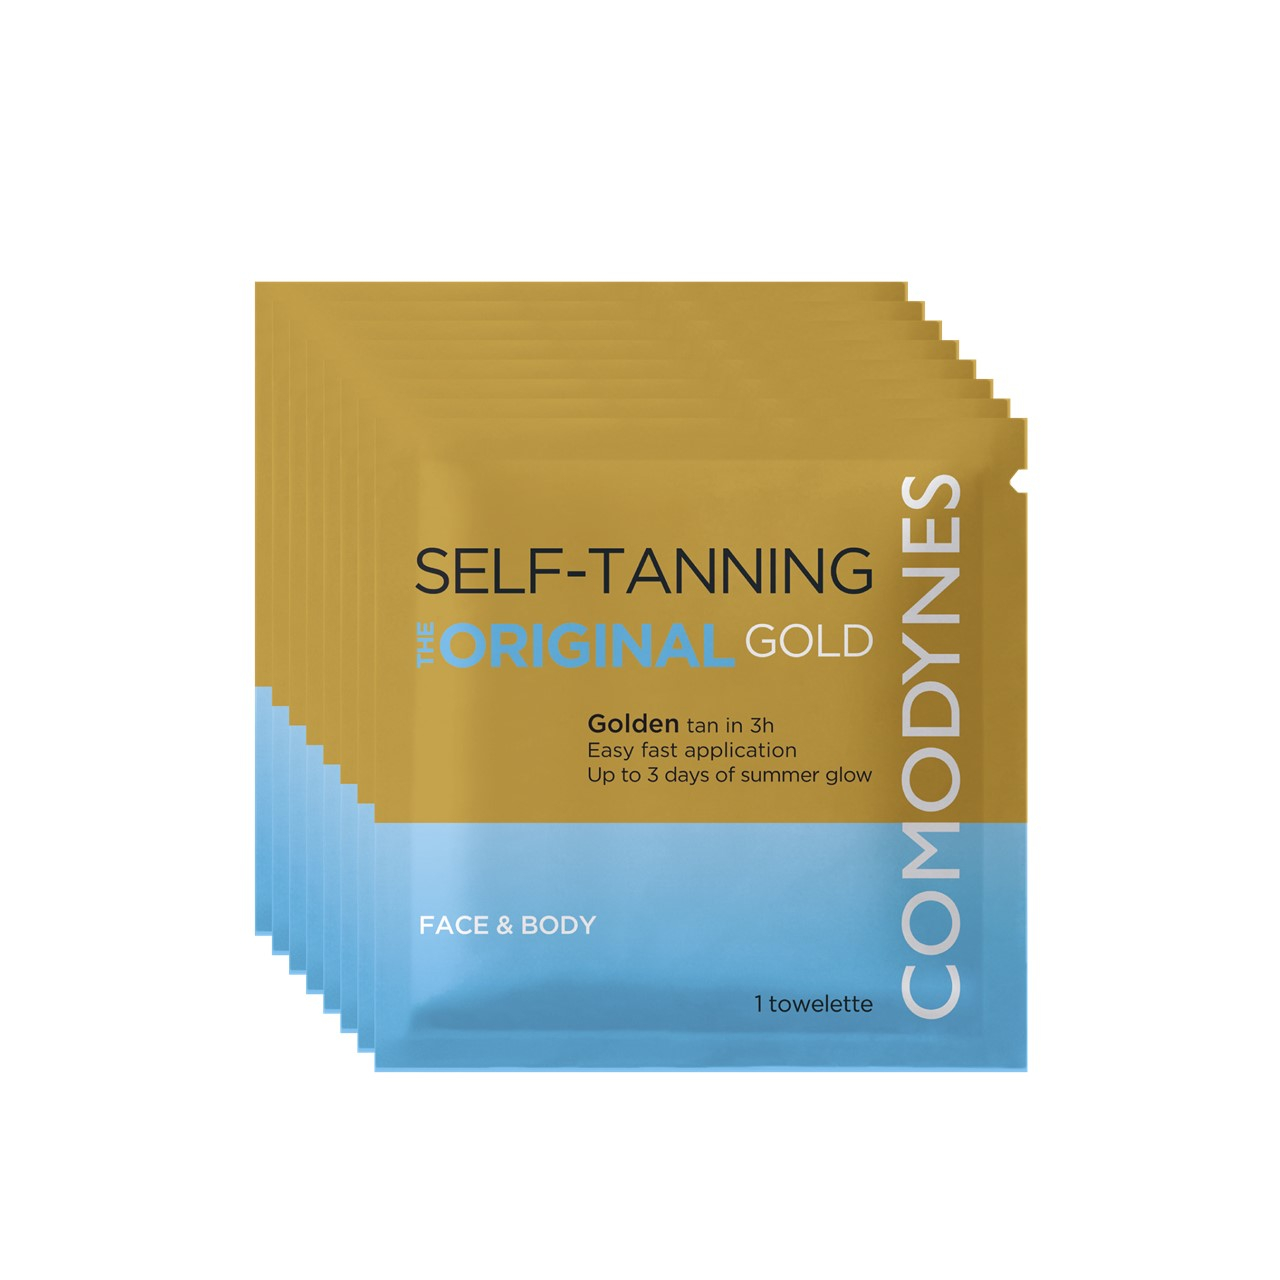
Follow the same tips if you’re using a self tanning wipe, but always take care to hold the wipe as flat as possible against your skin.
In case you’re using a spray-on self tanner, then your life just got easier: simply hold the applicator a few inches from the skin and spray all over the body, starting from the bottom and working your way up in long, vertical sweeps.
4. Mind the hands and feet
Remember those danger zones we talked about earlier? Leave them for last. A good tip is to simply “drag” excess product from your arms and legs down into your hands and feet, respectively. This will give you a more natural look that imitates the appearance of a beachy sun tan.
5. Wipe away excess formula
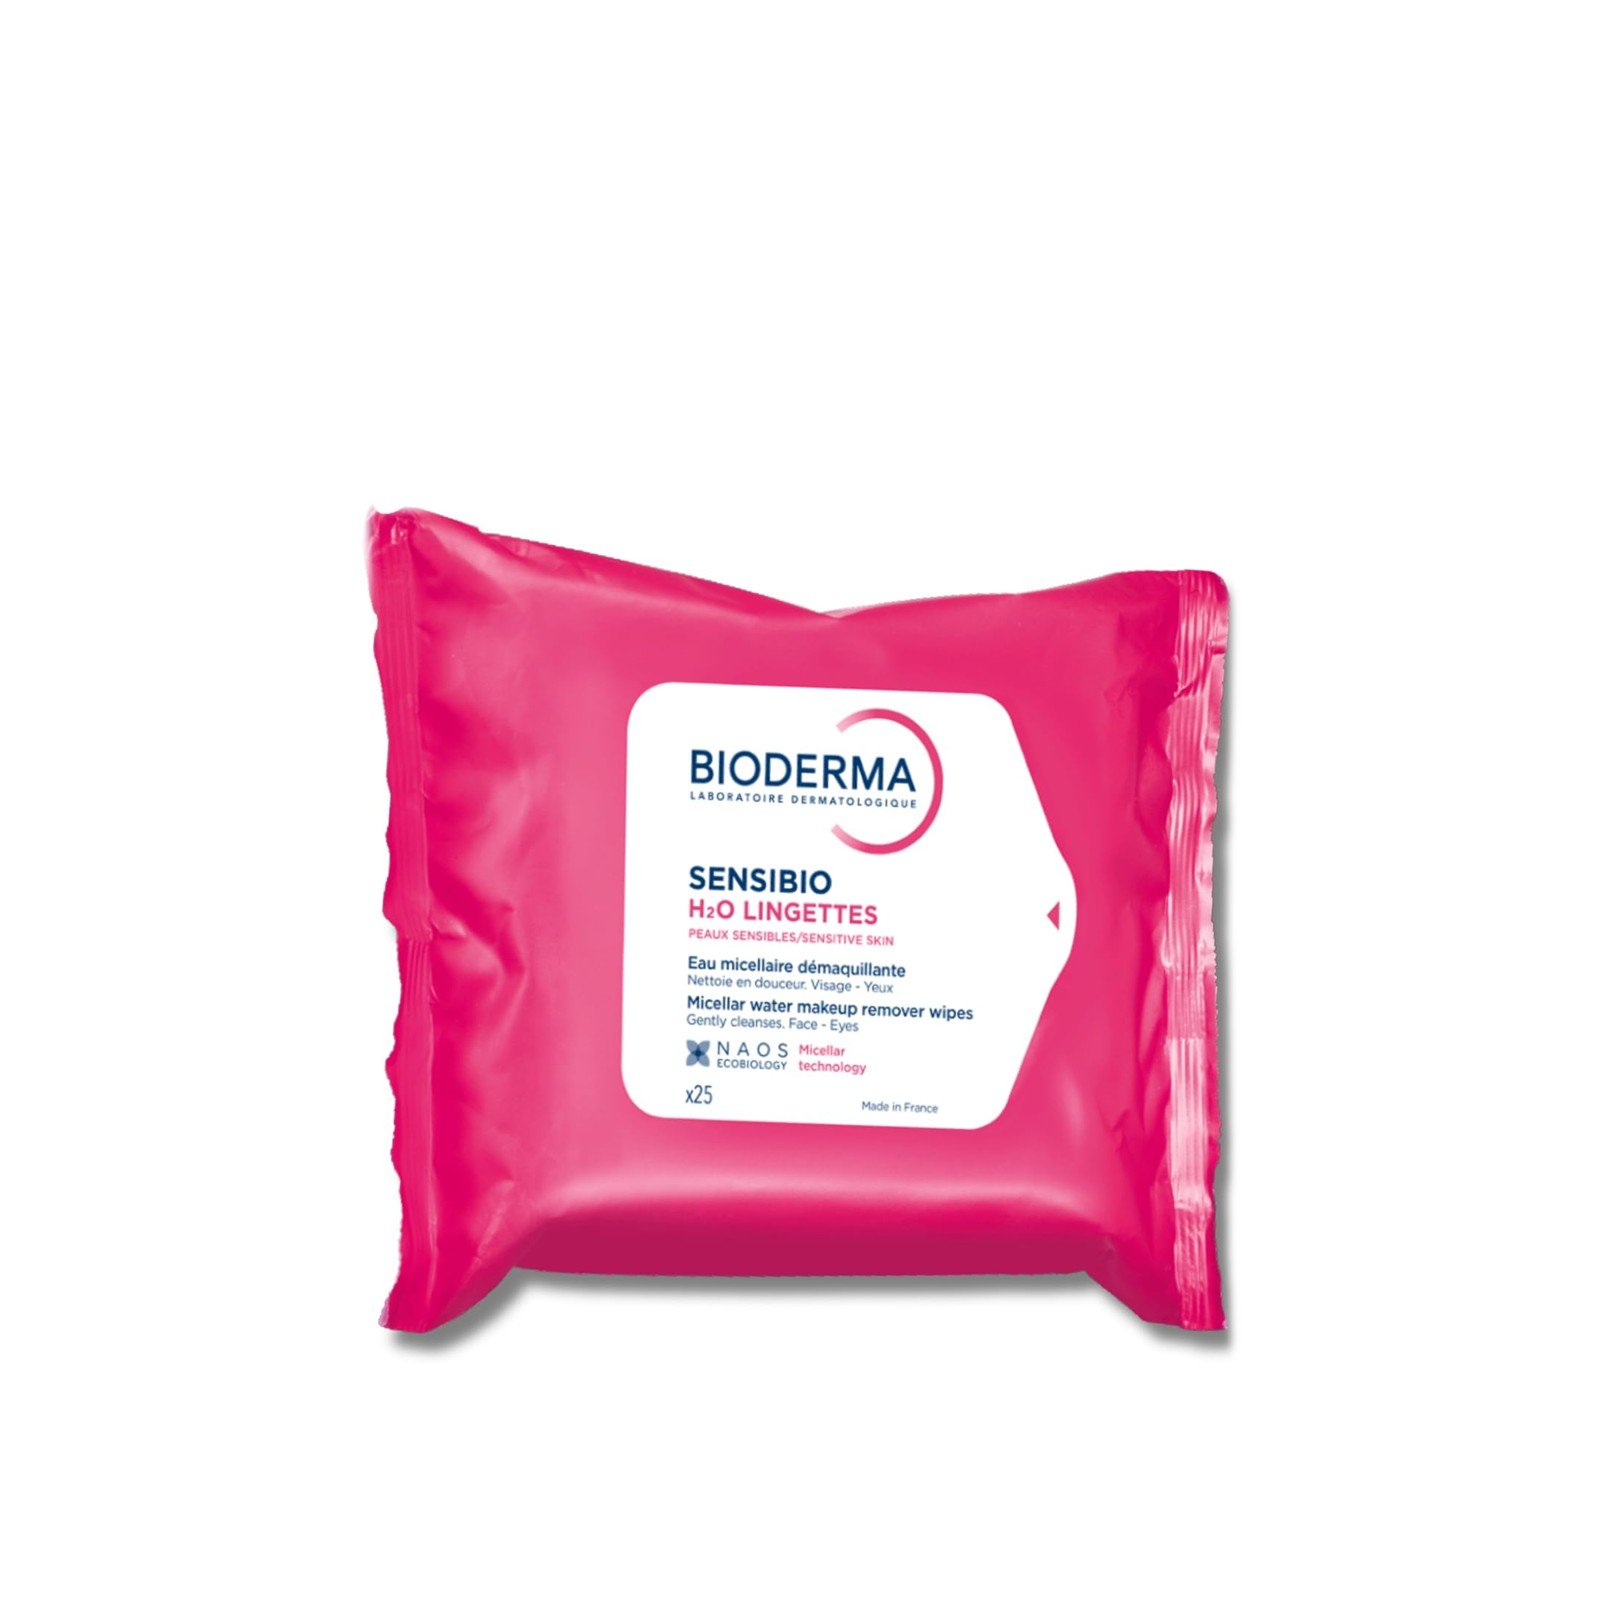
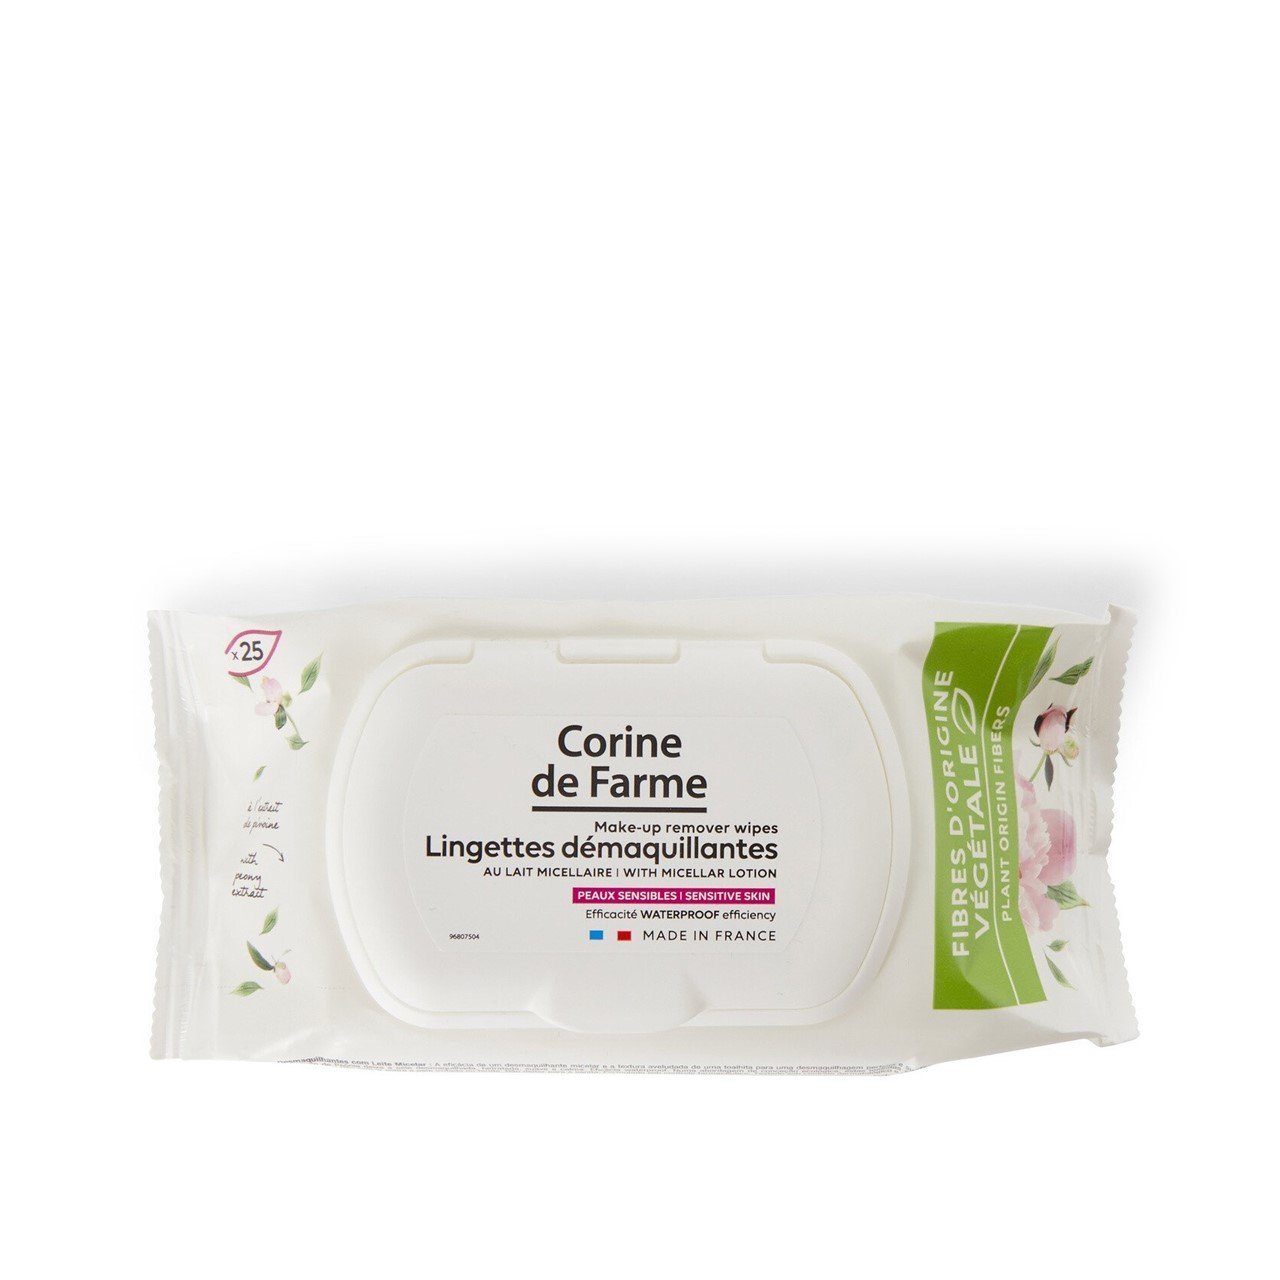
Keep some make-up wipes handy in case you need to wipe away any self tanner that’s landed in the wrong place. Maybe you’ve done a stellar job and there’s no obvious excess anywhere, and we congratulate you for that! However, always remember to wipe down your palms, your nails, and your cuticles, as these areas can grow darker despite your best efforts.
6. Maintain your tan
Your new tan should be looking pretty good, now that you’ve learned how to self tan at home. All you have to do now is maintain it; don’t let your hard work go to waste!
In order to keep your glow for longer, try to moisturize your body every day, especially after showering. Remember what we said earlier? A smooth, even tan begins and ends with smooth, even skin. You look great!
Now, how much do you know about facial self-tanning?
