We’re not trying to fool you, makeup application is much more fun than cleaning your makeup brushes and sponges. But you can’t have one without the other! We promise we’ll do all we can to put it as simple and enjoyable as possible, while paying special attention to water use. Let’s start with some tips already: use your fingers as a makeup application tool as much as you can to avoid accumulating brushes on the dirty pile. This is the best way to save your precious time and our scarce water. After reducing brush and other makeup accessories used to the bare minimum, you need to establish a cleaning ritual to get all the impurities and dirt out. Makeup application looks and feels better with clean makeup brushes, and we hope that it’s motivation enough. If not, then remember that it’s a matter of safety. Stay with us to learn why and how to clean makeup brushes and sponges without wasting water!
Why you should clean your makeup brushes & other accessories
Combining brush or sponge fibers with liquid makeup creates the most welcoming environment for bacteria and germs to thrive. With germs growing on your makeup tools, your skin is no longer safe—nor your precious makeup! Cleansing your brushes is actually essential to keep your makeup, and most importantly, your skin safe from threatening bacteria. The most effective way to prevent that would be to cleanse the brushes after each use, which will be our official recommendation. HOWEVER, if you’re one of those human beings that don’t have the time or the energy for such dedication, let us negotiate to a minimum of weekly cleanse. We really can’t go lower than this, no further negotiation is possible!
How to clean makeup brushes
Here is all the technical part you need for an in-depth cleanse. The process won’t differ that much between different types of brushes, even though foundation brushes can be particularly challenging to cleanse considering how stubborn this type of makeup can be. Whether you’re new to brush cleansing or an absolute expert, there’s always something to learn from other people’s methods. Our approach to this task is to get a proper cleanse without wasting water. Water is a very limited resource so we made a great effort to develop a method that uses as little water as possible! Check our tips on how to clean makeup brushes:
1. Prepare your working space
Sanitize the surface you’re using for brush cleansing and don’t forget to get yourself a small bowl and a towel. You’ll also need a flat surface by your side to use as support for this endeavor. We think that around the kitchen or bathroom sink is usually a good idea, as long as they’re flawlessly cleaned and sanitized.
2. Wet your brush
Pour some lukewarm water into your bowl or sink, and start by damping your brush. You may press it a few times (gently, always gently!) to the bottom of your vessel to release as much dirt as possible before adding any product.
3. Use a soft detergent for a deep cleanse
Now that your brush is damp, it’s time to use some brush soap. Rub your brush on a cleansing bar or pour a small amount of product if you’re using a liquid, and massage the brush gently on the palm of your hand. Go with circular motions and do your best to not tangle the brush hairs! Our experience says that rush is your enemy, so be gentle and patient on this step! You may like to use your hands or an accessory like a brush cleansing palette. Both work like a charm to massage the brush and foam it up.
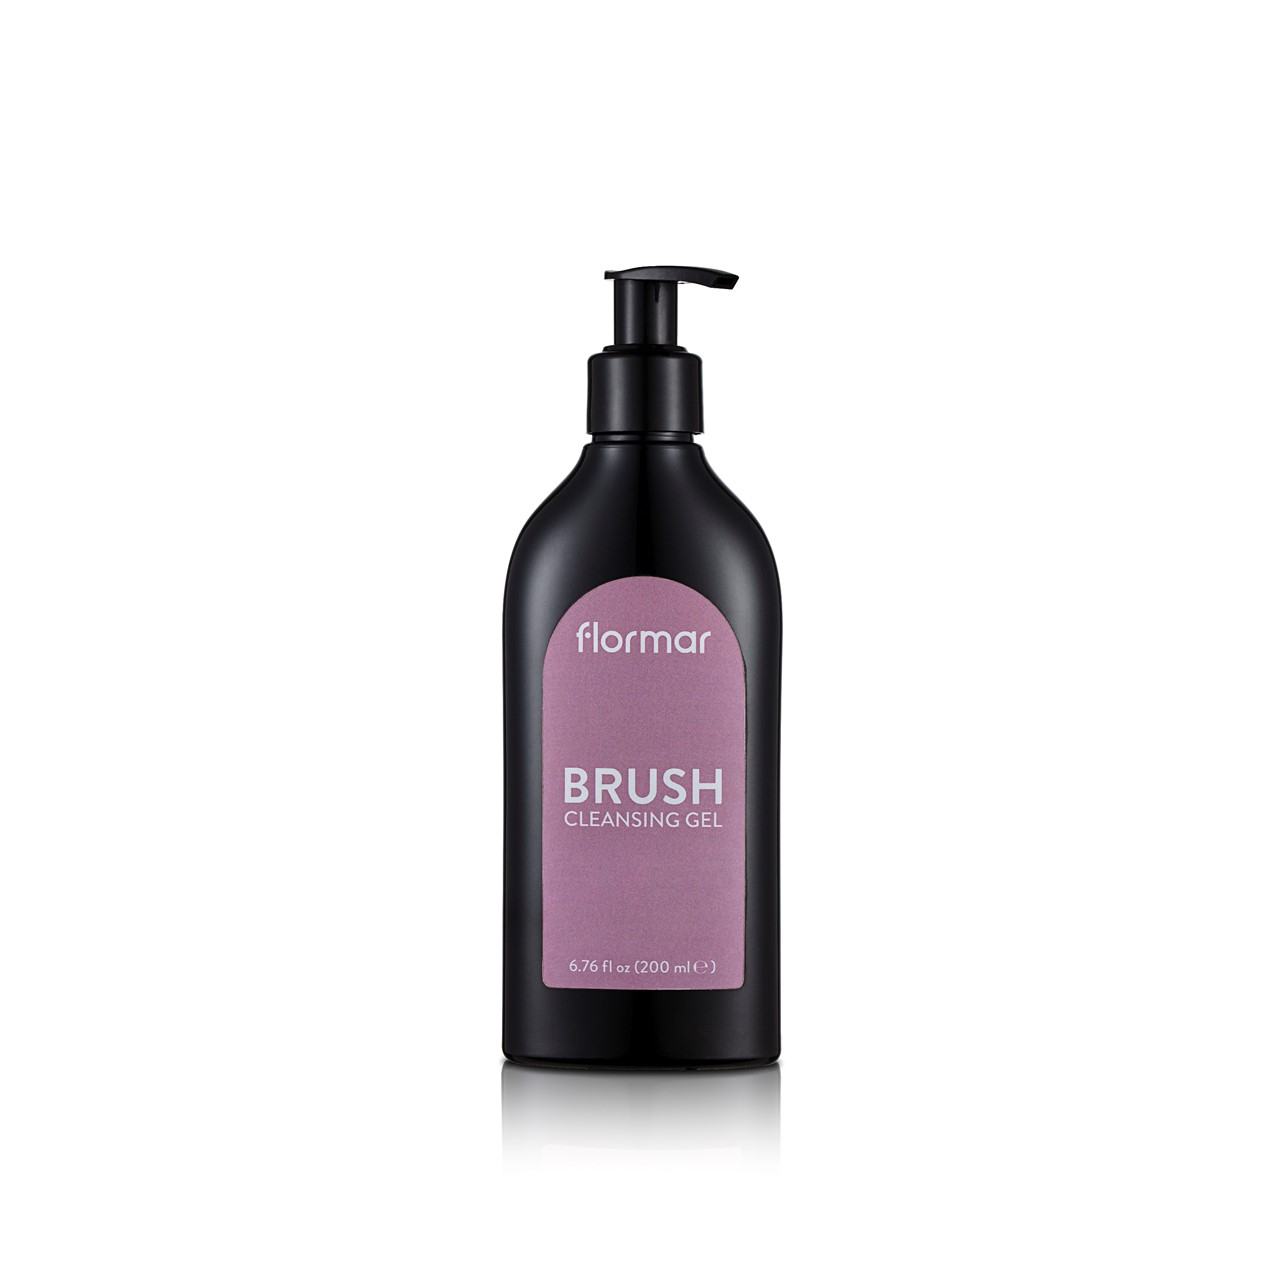
Note: Brands often recommend using a product made especially developed for brush cleansing, and so do we! A good example would be Flormar Brush Cleansing Gel. If you don’t have one near you, then try to find a good conditioning cleanser for the skin, in a liquid presentation like Mádara Wild Woods Moisture Wash, or in a bar like APIVITA Natural Soap with Jasmine.
4. Dip your brush to release all the makeup
With your brush all foamed up, it’s time to soak your brush in the water again. Repeat the procedure of step 2, pressing the brush to the bottom of the container. You may also use your hand as a tool and gently rub the brush against your hand to release all the makeup that’s been trapped.
Note: We’re sensing that you’re waiting for our water-saving tip, so here it is! Use the same water to replicate steps number 2 and 4 in all brushes. Don’t let the color of the water scare you! Once you’ve got rid of most dirt on every brush, it’s time to discharge the dirty water. Only then you’re filling your container or sink with fresh water.
5. Fresh (re)start with fresh water
By now, we’d say that about 95% of the dirt is out of the way, but you may still have some soapy brushes. Repeat the process of dipping the brushes in water, tapping them on the bottom of the container or on your hand. Yes, the process repeats itself, and you’ll become a master in no time!
If after the last step you notice that some brushes are not yet perfectly cleansed, you may repeat the foaming and rinsing steps.
How to wash makeup sponges
What about makeup sponges cleansing, you will ask. Sponges are a great tool for applying foundation and concealer. What they’re also great at is in gathering all the conditions for bacteria growth. Just as for brushes, the ideal would be to cleanse at every use. If that’s not possible, then never less than once a week. Even though the process is not that different, the product itself as well as the cleansers used are specific. Please note that this process is only recommended for reusable sponges such as beautyblender Pro Makeup Sponge, a Real Techniques Miracle Complexion Sponge, and not to disposable sponges. Let’s go, one step at a time!
1. Prepare your working space
Here you can just repeat the reading of step one of the brush cleaning tips above. To sum it up, get yourself a container, a towel, a flat surface and sanitize the space before starting!
2. Soak your sponge
This step is even easier than the previous one! Squeeze your sponge non-stop until it’s fully soaked in water.
Note: As water-saving tips are never too many, here’s another one. Instead of soaking your sponge with running water, use a container and take your sponge for a good dive while you squeeze it!
3. Use a gentle cleanser for a deep wash
Pour a liquid cleanser over your already damp sponge and squeeze it some more. As you see, squeezing your sponge is the only technique you need to master for proper sponge cleansing!
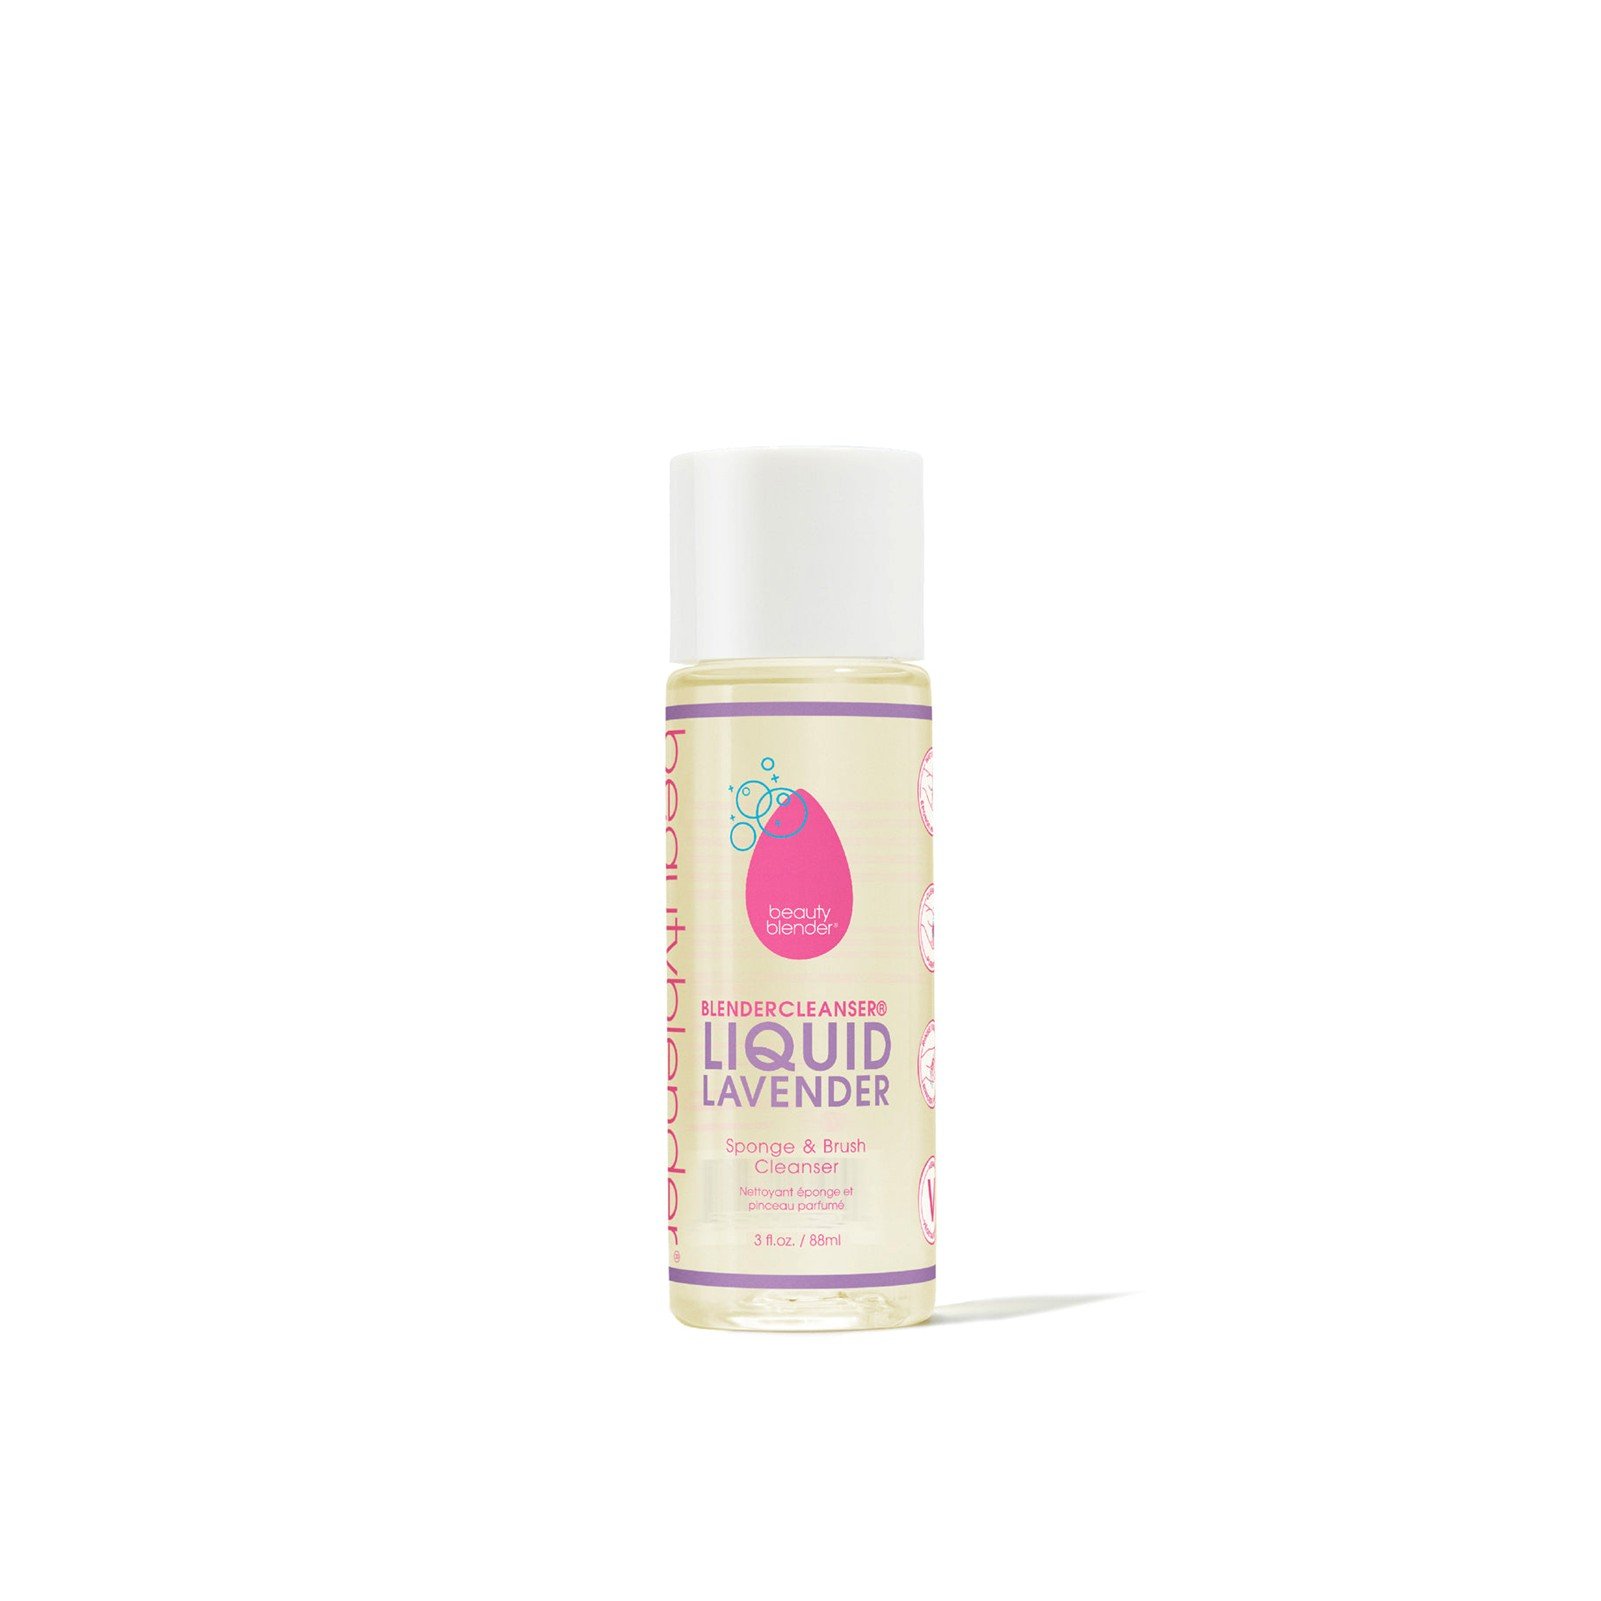
Note: You’ll need a very good cleanser to make foundation leave from a makeup sponge! You can trust that beautyblender Blendercleanser Liquid Lavender Scented Sponge & Brush Cleanser never fails.
4. Squeeze it clean
Yes, you’ve guessed it right! Time for some more squeezing. This time, you’ll need to squeeze it underwater to set free all the impurities and makeup.
You may need to repeat steps 3 and 4 until your sponge is completely spotless.
If more than help for good maintenance of your makeup tools, you could use some help in using them, then take a look at our guide on how to apply foundation.
Professional Makeup Artist & Beauty Writer


