
For eyeliner devotees all over the world, here's the latest trend that you shouldn't miss. The puppy eyeliner, or puppy dog liner, is pretty self-explanatory: it makes your eyes look as cute as puppy eyes. It all comes to the shape: with a slightly downward flow, this eye style makes for the most adorable eye look. Especially interesting for hooded eyes, this look is a great alternative for those who struggle with complicated eyeliner angles. If you already master eyeliner looks, then you'll find it incredibly easy! If that's not the case, worry not. We came up with a step-by-step puppy eyeliner tutorial. Time to grab your favorite eyeliner!
The puppy eyeliner tutorial: learn how to do it, step by step!
We could just let you know about the trend, but we thought that a puppy eyeliner tutorial would make it more interesting and easy for you to follow! We've broken the final look into a few steps, so it gets accessible even for inexperienced makeup lovers. You may go for it using the basic black liner, or you may be feeling inspired and go all in with colorful makeup. Find the shade that best suits your style and go for it!
Step 1: Line the upper lashline

Use an eyeliner to outline the upper lashline, from the center of the lid outwards. You should start with the thinnest of lines, and then thicken it gradually as you move outwards until you get to the outer corner. It's important to keep the line as close to the base of the lashes as possible, without leaving skin showing.
Step 2: Create a downturned eyeliner

This is the step that defines the style and makes it different from all the other liner shapes. Once you've lined the lashline, it's time to pull it further out and wing it. Instead of winging it upwards as you would with a regular eyeliner shape, you wing it following the natural downwards angle that flows from your top lash line. This downturned eyeliner is what sets this design apart from every eyeliner you've ever seen!
Step 3: Connect the top and bottom lines

Now that the challenging part is complete, it's time to connect the liner you've just sketched with the bottom lash line. If everything went as planned, you just need to create a line on the bottom lash line starting in the center of the eye and going straight (like parallel to the floor) to meet the downturned liner you've just created. Easy right? You may go with the additional step of highlighting the inner bottom lashline with some eyeshadow in a shade close to your natural skin tone.
Eyeliners you can use to create your puppy eyeliner
We've covered all about the design. But what about the products? The good news is that you can choose the makeup products that you're already used to to recreate our puppy eyeliner tutorial. Just keep in mind that you'll get different results depending on the makeup product you choose. You may, of course, choose different products and/or shades for the top and bottom lashlines (just as we did!). Every result is beautiful and unique in's own way! Which one will be yours?
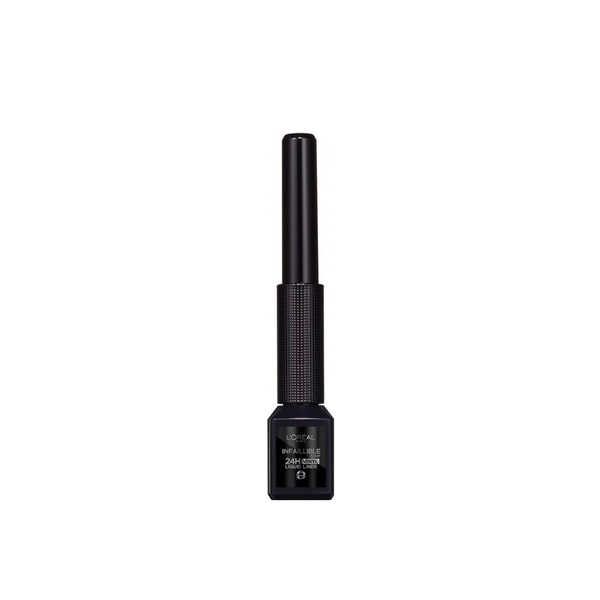
Liquid eyeliner
For a sharp, graphic look
If you want a liner that's sharp as a knife, then go for the liquid eyeliner! Known as the most intense of eye makeup products (and the least easy to master), the liquid liner is incredibly pigmented and allows for the edgiest eye looks. You'll need a steady hand as well as some practice. We're sure that you'll master it in no time. The perfect final touch would be to combine it with a trendy outfit!

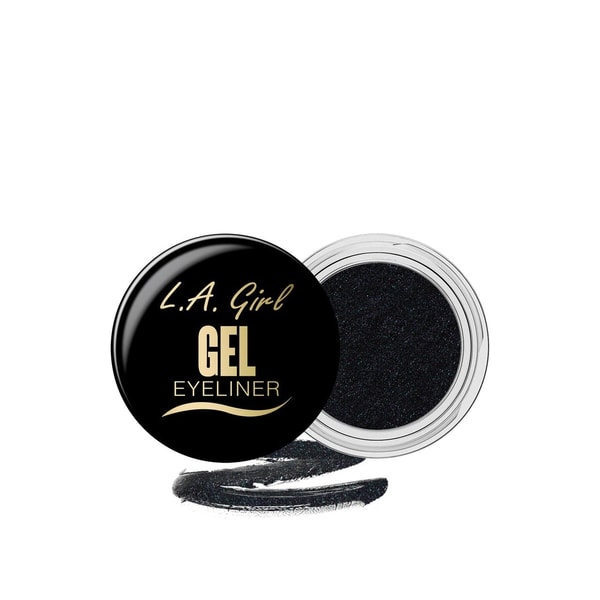
Gel liner
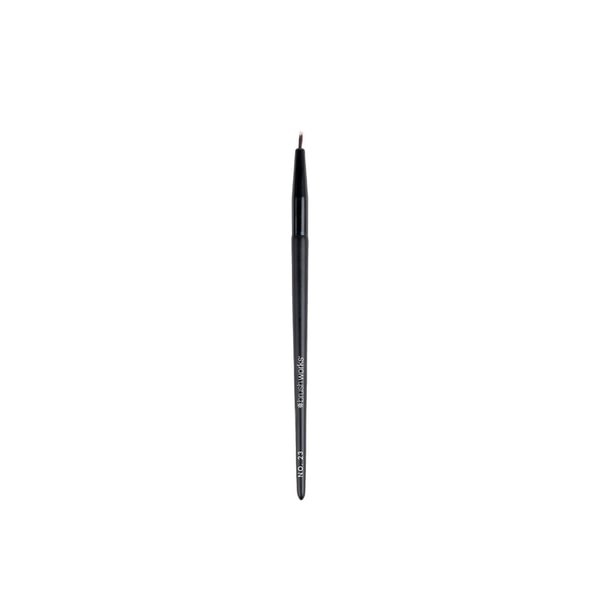
For a precise brush application
An eyeliner brush is the handiest tool for precise eye makeup application, and you may use yours to follow our puppy eyeliner tutorial. Pair it with your favorite gel liner and there's no one stopping you! As for the result, it should turn out comparable to a liquid eyeliner: strong, pigmented and graphic. The main difference is in the application technique. From our experience, most people find that using a brush makes it easier to apply and control. You should go for the one that sounds easier for you!
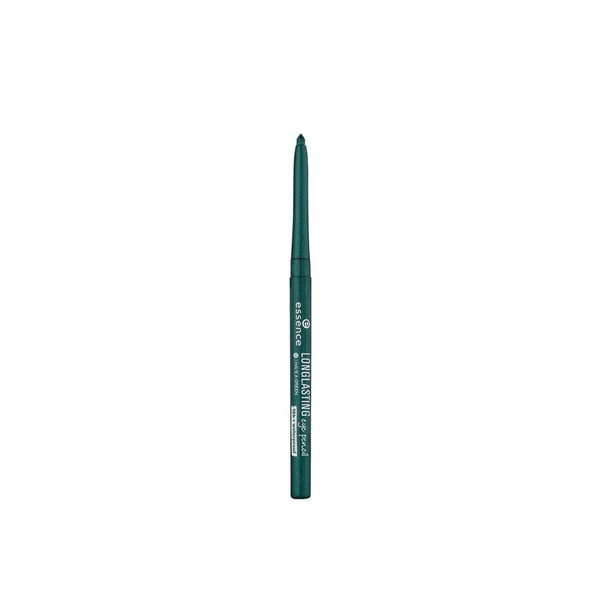
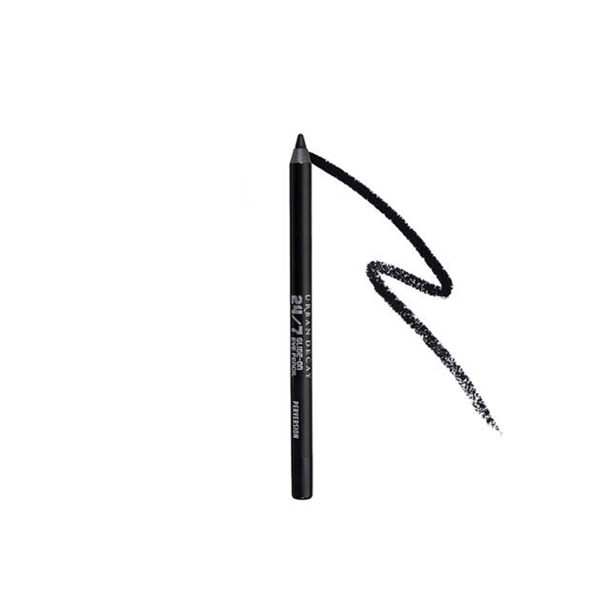
Pencil
For a smudged look
The most intuitive makeup product of all is the pencil! You know how to grab it, you know how to work it... so it should all come down to the shape! After applying it to your lashline, you may choose to leave it as is or use a clean blending brush to blend the edges and create a smokey effect. Alternatively, you may define the upper lashline with a liquid liner and then go with a pencil on the bottom lashline to create a contrast. This is one of the easiest ways of trying this eyeliner shape. The pencil is forgiving and allows for a stylish smudge that hides all the application imprecision!
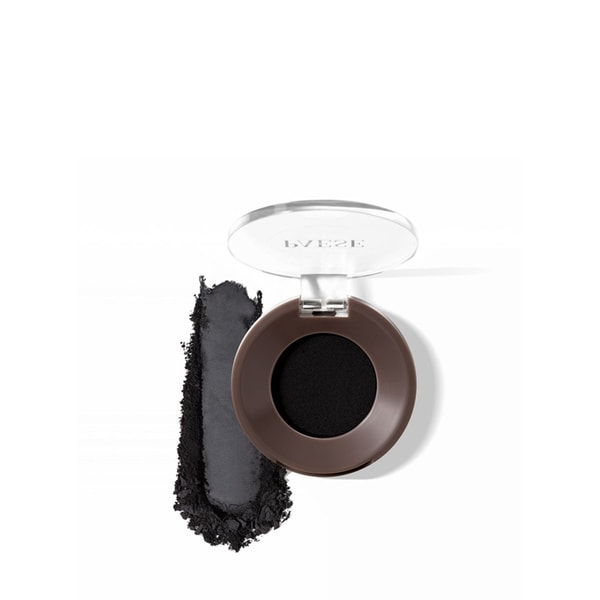
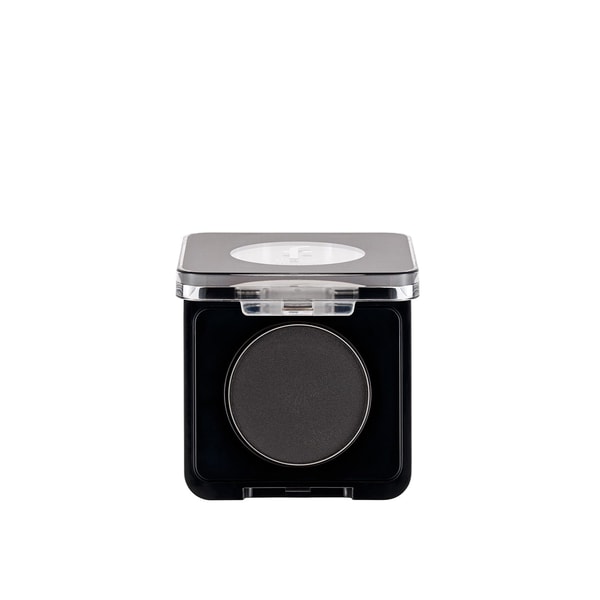
Eyeshadow
For a subtle result
Powder eyeshadows usually show more subtle than pencils or eyeliners, so it's a great way of creating a soft look. With less color payoff, a powder eyeshadow is less contrasting and less sharp, which can come as an advantage for all of those who wouldn't like such a statement look. Another great advantage is that you probably have more colors of eyeshadows than of liners, so you may be more creative in style and color. Just as with the pencil application technique, you may blend the edges for a not-so-sharp final result! Another option is to apply your eyeshadow with a damp liner brush, and—depending on your eyeshadow—it may work just as a gel liner! Which look are you leaning to?
The downturned puppy liner is not complete without mascara! If you're yet to find your favorite, then take a look at our selection of amazing mascaras!
